Hosting a Full Stack Application

Project Summary
In this project, you will take a newly developed full stack application and deploy it to a cloud service provider so that it is available to customers. This application contains the main components of a 3-tier full stack application (UI, API, and Database).

Project Environment
In your Local Machine Instructions ensure you have the following installed:
✅ Node v14.15.1 (LTS), or more recent. While older versions can work, it is advisable to keep Node to the latest LTS version Node.js Installer
✅ npm 6.14.8 (LTS), or more recent. Yarn can work but was not tested for this project
✅ AWS CLI v2 Installing / Updating the latest, v1 can work but was not tested for this project
You will have to do the following
1️⃣ Download Assets
You will have the choice of using either a starter project (GitHub link) or the application created during the course of the Fullstack JavaScript Nanodegree. choose what ever you like
2️⃣ Provision AWS services
Provision the necessary AWS services your app needs
🚀 Launch the AWS Console
Launch the AWS Web Console in your Udacity Classroom, You are given a federated user account, a temporary AWS user account with limited permissions, that you can use in this program.
To log in to an AWS console, click the button in the left navigation labeled Open AWS Gateway and then Open AWS Console. This will open the AWS console in a new browser tab. This may take a few moments to load the first time. See a brief video below for a walkthrough.
If you have a pop-up blocker installed, it may prevent the new tab from launching. Please be sure to allow pop-ups from Udacity.
🚀 RDS - Create Postgres DB
Amazon RDS is a relational database service that manages common database administration tasks, resizes automatically, and is cost-friendly.
Let's see how to create a PostgresSQL database, and view the details of an existing database.
🐻 Navigate to the RDS dashboard. It shows the database-resources summary, such as the count of database instances, the health of the database service, reserved instances, snapshots. You can also view the portion of the allocated storage. You can launch the Create database wizard from here.

🐻 Create a Database

AWS provides two options to choose from:
Standard create - You have set all of the configuration options, including ones for availability, security, backups, and maintenance.
Easy create - You use the industry best-practice configurations. All configuration options, except the Encryption and VPC details, can be changed after the database is created.
The snapshot below shows the fields you choose while creating a MySQL database using the Standard create option.


when creating your RDS instance, make sure you choose to make it publicly accessible (it’s an option that pops up to you when creating the database).
By default, if you create an Amazon RDS MySQL database you won’t be able to connect to it unless you specifically whitelist inbound traffic sources.
I will show you step by step in the easiest way possible how to allow an IP to connect to your RDS instance (in other words, open port 3306).
Step 1 Choose your RDS database from the list of instances.

Step 2 Scroll to the Connectivity & Security section then find the “VPC Security groups” and click on the active security group link. This will directly redirect you to the security group you need to whitelist the IP address at.

Step 3 Make sure the security group that belongs to your RDS database is selected/highlighted.
Step 4 Click on Inbound Rules at the bottom. Then click Edit Inbound Rules.

Step 5 In this last step you will just need to whitelist IP.

Hit save 😂
now it's time to test we can use Postbird

🚀 S3 Bucket
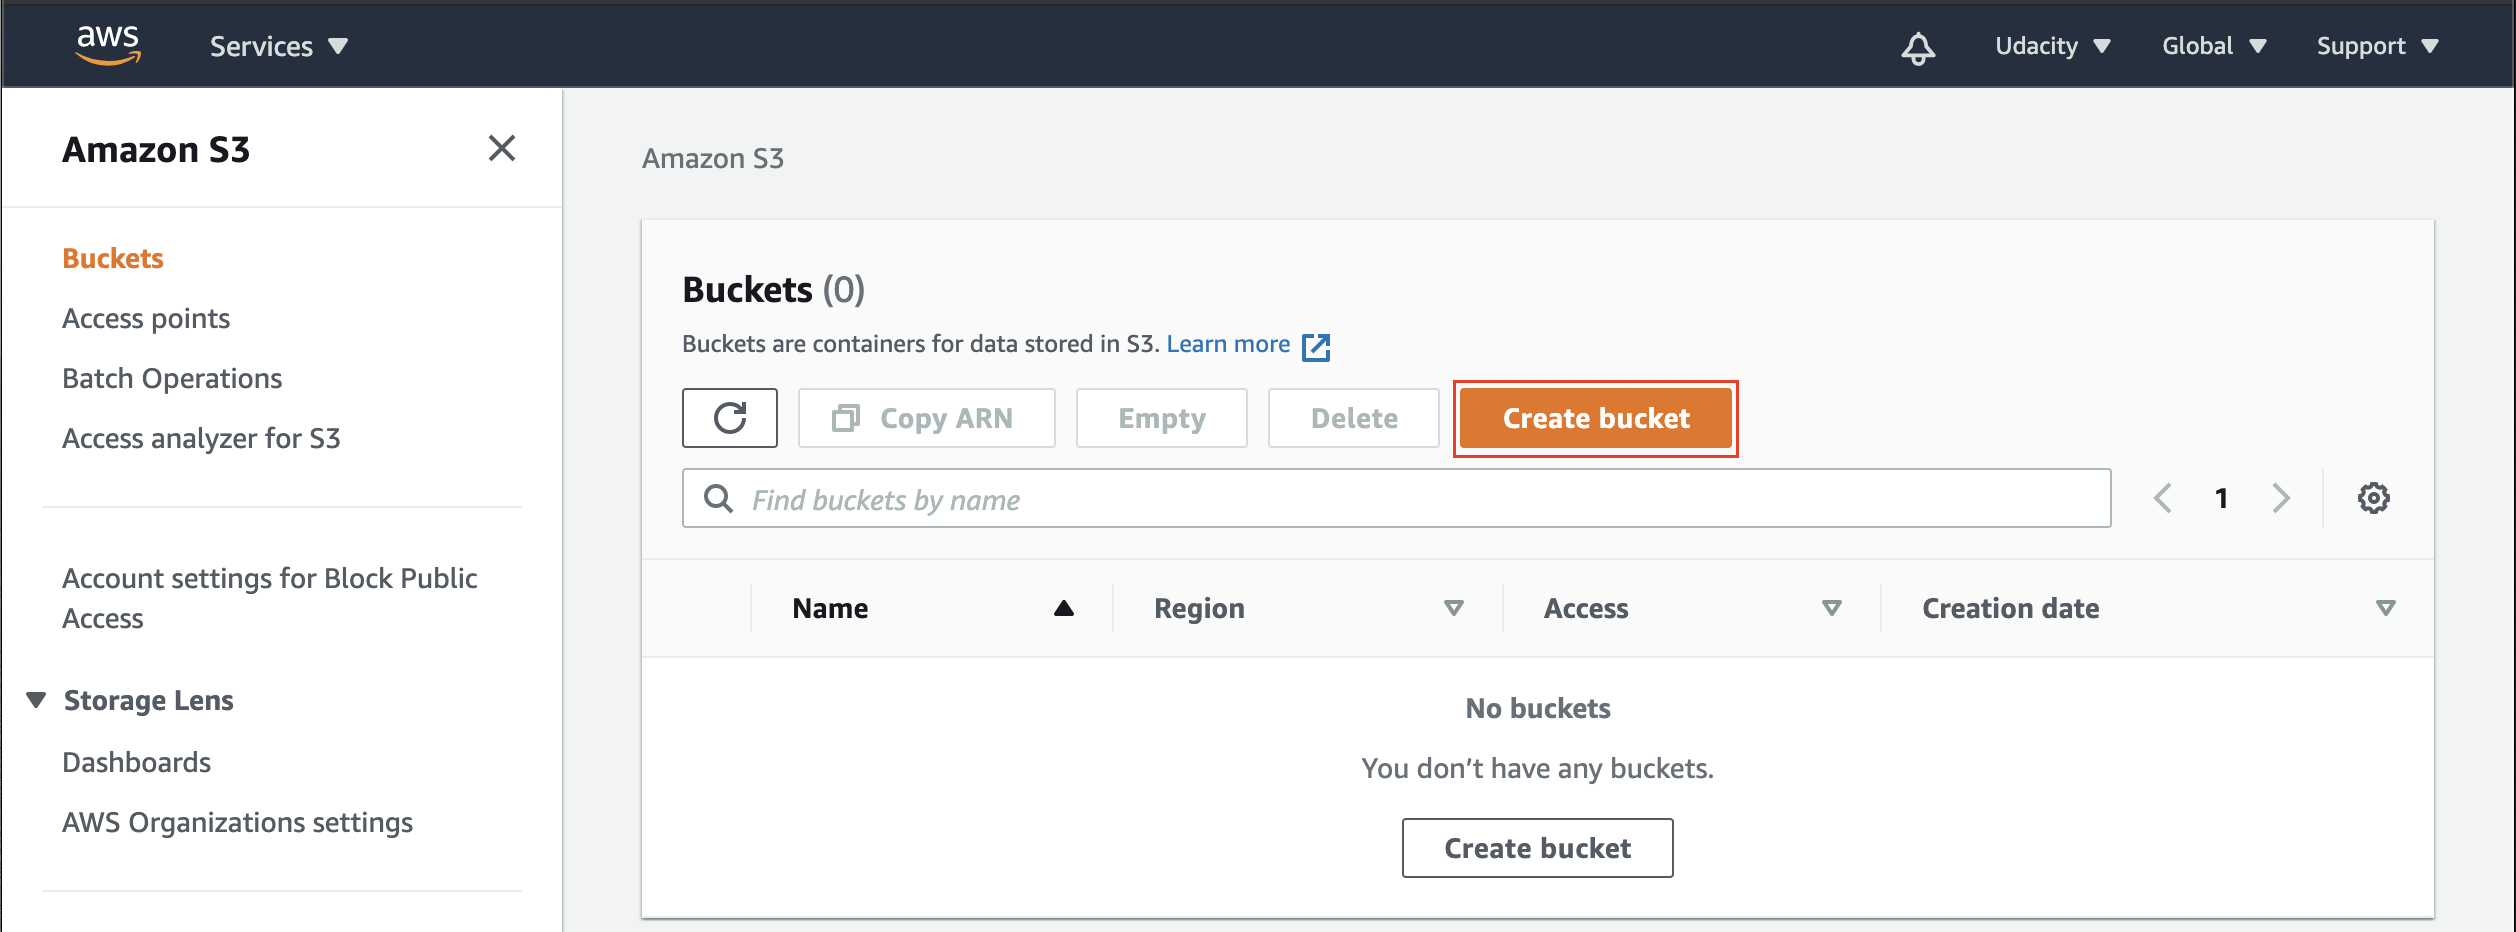
🐻 Create Bucket
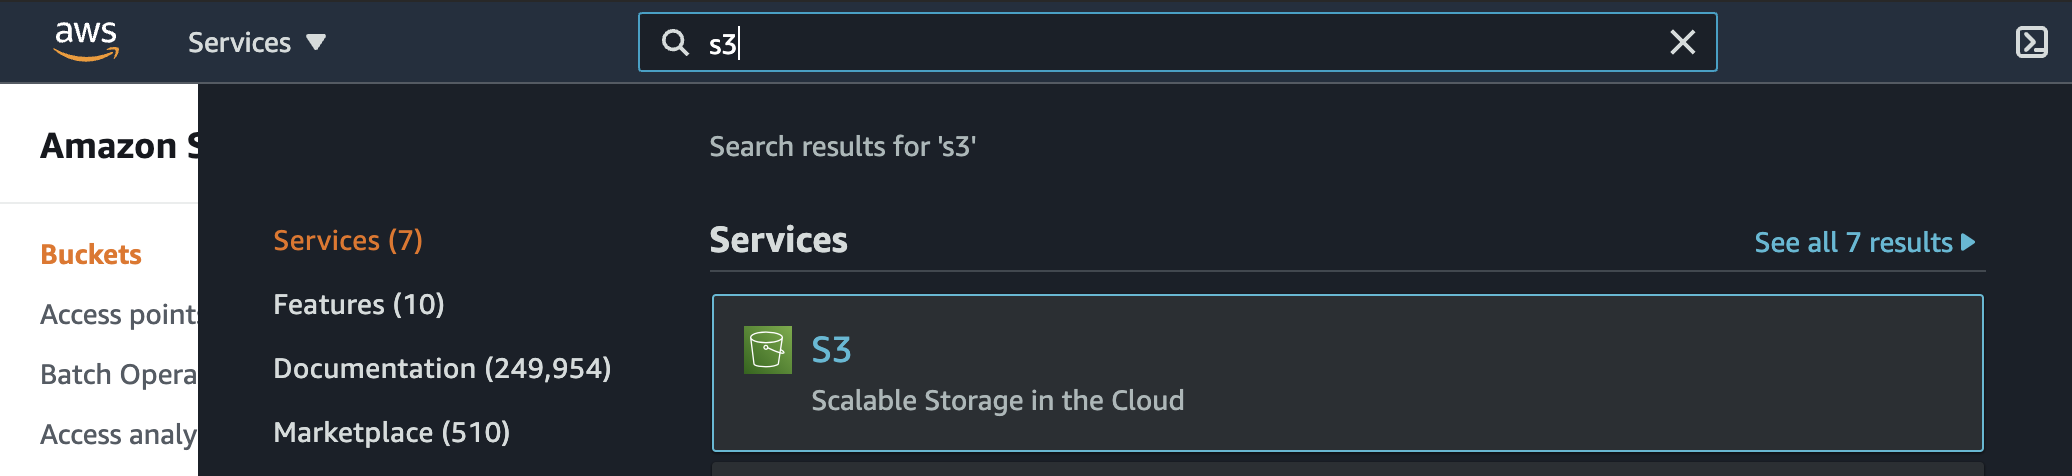
- Navigate to the AWS Management Console page, type S3 in the “Find Services” box and then select S3 and navigate to it.
- Click on the Create bucket button. It will launch a new wizard.
- General configuration
Provide the bucket-name and the region where you want to locate the bucket.
The bucket name must be unique worldwide, and must not contain spaces or uppercase letters.

One of the convenient naming conventions is my-123456789-bucket, where you can replace 123456789 with your 12 digit AWS account ID.
If you create a bucket from GUI you need to make sure that u login with the user u are using to acess from the termainal if it's not the case there's an error will appears for ACLS and we can avoid all this shit by creating the bucket from our termainal
aws s3api create-bucket \--bucket my-bucket \--region us-east-1
you can learn more about this from docs
Now we created the bucket, and later we upload files and folders to it but there's some configuration we need to add to the bucket itself.
- Public Access settings
uncheck the Block all public access option. It will enable the public access to the bucket objects via the S3 object URL bocz we need our HTML/CSS to be accessable form outside

Make sure to check ✅ I acknowledge that the current settings might result in the his bucket and the objects within becoming public
We are allowing the public access to the bucket contents because we are going to host a static website in this bucket. Hosting requires the content should be publicly readable.
- Bucket Versioning and Encryption
👨🏻💻 Bucket Versioning - Keep it disabled. 👨🏻💻 Encryption - If enabled, it will encrypt the files being stored in the bucket. 👨🏻💻 Object Lock - If enables, it will prevent the files in the bucket from being deleted or modified.

Create a bucket - Make it public and now we need to access bucket details

🐻 Set Bucket Policy


{"Version": "2012-10-17","Statement": [{"Sid": "PublicReadGetObject","Effect": "Allow","Principal": "*","Action": ["s3:GetObject"],"Resource": ["arn:aws:s3:::yonisify-udagram/*"]}]}
Replace
yonisify-udagramwith your bucketname

🐻 Configure static website hosting


🐻 Upload File/Folders
From the S3 dashboard, click on the name of the bucket you have created in the step above. and you will find Details of an existing bucket. you can upload now your static files from upload button as

but most of the times after integration with CircleCI you don't have the luxurious to upload every time from GUI so you need some utility to upload from your terminal and this can be handle by for example let's say when we build the project client side i mean you will get the build version with a new folder for example called www so to deploy this new build to s3 this something can be done by
aws s3 cp --recursive ./www s3://yonisify-udagram/
u might get error
An error occurred (InvalidAccessKeyId) when calling the PutObject operation: The AWS Access Key Id you provided does not exist in our records.
in this case the problem is you need to fix the aws configureation open your termainl and add your credentials

but if you not have one u need to create IAM user with AdministratorAccess and here's the steps


After Creating a group let's create a user and attach admin policy to it


if you still face any issues please go to the documentation
now it's time to run the command to upload again please hands up for this time


now it's time for your to have a cup of coffee ☕️ as you done a very cool job till now
🚀 Elastic Beanstalk
let's start by docs to deploy applications used nodeJS
Elastic Beanstalk (EB) is a fairly straightforward way of setting up scalable applications. It uses Amazon Elastic Compute Cloud (EC2) instances, Amazon Simple Storage Service (S3) buckets, and load balancers to manage your application architecture for you.
🐻 add .elasticbeanstalk/ to .gitignore file
🐻 Create an Elastic Beanstalk environment
Open your termail and make sure u authenticated to aws and everything is fine then open your server directoy
- Create a repository with the eb init command.

This command creates a configuration file in a folder named .elasticbeanstalk that specifies settings for creating environments for your application, and creates an Elastic Beanstalk application named after the current folder.
- Create an environment running a sample application with the eb create command.

This command creates a load-balanced environment with the default settings for the Node.js platform and if you open the Elastic Beanstalk service from you will find your application with the name you speicifed in our case called udagram-api with environment udagram-api-dev


if you open this link now you will see

now it's time for your to have a cup of coffee ☕️ as you done a very cool job till now
now after createing everything we need to deploy our application on a spcified environment we alread create it let's make sure we are using it by running in rootDir of our server
eb use udagram-api-dev
now we need to ask our selves a question what we need exactly to deploy mmmmmm 🧐 aha we need to build our project first and archive what we build and upload it to run it simple ha so go to rootDir of your server and build the project and archive what we build and this will happen as

then we need to let the elasticbeanstalk configuration know our intention and where it find the archive folder then deploy then open the link again and this can be done by
Open config.yml in .elasticbeanstalk folder and add this

It's time to deploy now again

Open link to review what's happening and this can be done from terminal BTW


ohhh a problem yes a problem what you expect Sir for sure you will find a problems when you work but no problem my friend I am here for help
in such cases the only place can save us is logs you need to read them and google errors to find the solution and deploy again


may be you forget to set environment variables or something to set them

so now you feel issue is fixed right so make the same steps we did before
Build by
npm run buildDeploy again


- Validate


it's time to clean up
If you are done working with Elastic Beanstalk, you can terminate your environment.
Use the eb terminate command to terminate your environment and all of the resources that it contains.


3️⃣ Wire your GitHub repo with CircleCI
4️⃣ Configure a CircleCI
Configure a CircleCI pipeline to automate your deployments
5️⃣ Document the infrastructure
Document the infrastructure needs (RDS, S3 and Elastic Beanstalk, etc) and explain the different steps in the pipeline
6️⃣ Create architecture diagrams
Create architecture diagrams for an overview of the infrastructure and the pipeline
Submission Instructions
🚀 Provide the link to your hosted working Front-End Application in the README
🚀 Include a screenshot of your last build in CircleCi (either include screenshots in the GitHub repo or upload into the Workspace)
🚀 Include screenshots of the configuration page of your AWS services (either include screenshots in the GitHub repo or upload them into the Workspace)
🚀 Your project final project should include the following files and folders:
.circleci/config.yml- a root level
package.json - a
Readmewith some basic documentation - a docs folder to include architecture diagram and more detailed documentation files (MD format) on infrastructure description, app dependencies, and pipeline process
To review the detailed requirements for the project, look at the project rubric.
Notes if you are using the Starter code
Frontend
- make sure to change the
apiHostin the enivronment files to the api link
apiHost: 'http://example.elasticbeanstalk.com/api/v0'
- if you want to run the test in headless mode, you can use
"test": "ng test --watch=false --browsers ChromeHeadless",
Backend
- add these keys to the api config
accessKeyId : process.env.AWS_ACCESS_KEY_ID,secretAccessKey : process.env.AWS_SECRET_ACCESS_KEY
- make sure to use them in the S3 configuration
export const s3 = new AWS.S3({signatureVersion: "v4",region: config.aws_region,params: { Bucket: config.aws_media_bucket },credentials: {accessKeyId:config.accessKeyId,secretAccessKey: config.secretAccessKey}});
- use
eb initto create.elasticbeanstalkconfiguration
branch-defaults:default:environment: ENV_NAME // Notedeploy:artifact: www/Archive.zip. // Noteenvironment-defaults:Egfwdudagram-env:branch: nullrepository: nullglobal:application_name: APP_NAME // Notedefault_ec2_keyname: nulldefault_platform: Node.js 16 running on 64bit Amazon Linux 2default_region: us-east-1include_git_submodules: trueinstance_profile: nullplatform_name: nullplatform_version: nullprofile: default // Notesc: nullworkspace_type: Application
- delete
enginesfrompackage.json, or make sure you set the correct engine.
"engines": {"node": "14.15.0"},
Common Problems
Issue 1: Zip not working
Problem: zip and unzip commands are not existed in windows
Solution install Cygwin and make sure you select zip as it's not default
Issue 2: Routing
Many of us have found their URL not working after including the link to it in their repositories for submitting their project.
It happened to me, also.
The reason for this error is that you copy the link of the live site from the browser URL field.
This makes you copy the link with an extra unneeded /home.
Solution: Just remove the /home.
Issue 3: Testing
Some of us have experienced errors in deployment when they take testing into their consideration.
The reason behind this issue might be the configs of karma. -your-path-to-frontend-/src/karma.conf.js
There are no specific configurations to follow. Those who solved this issue played with the following:
clearContextautoWatchsingleRun
Try changing their values, and things should run smoothly. Karam configurations
Issue 4: SQl
Problem:

Solution
Issue can be fixed by by downgrading sequelize version to 5.3.5 while keeping sequelize-typescript at version 0.6.11
Udacity Style Guides
Although Eslint and Prettier will handle most of your formatting needs, you should write your code and markup to meet the specifications provided in these style guides:
A note on plagiarism: Viewing someone else’s code to get a general idea of implementation, then putting it away and starting to write your own code from scratch is okay. Please do not copy someone's code, in whole or in part. For further details, check out this guide regarding plagiarism.